    @Override
    public Sequence<ApplicationMenuItemDefinition> getMenuItemDefinitions() {
        return Sequence.empty();
}Step 4: Adding a Start menu item
As you can see, there is a blue bar at the top of our web page. This is the menu bar of the application. If we look into the class BusinessPartnerApplicationConfig, we can see a method called getMenuItemDefinitions. Currently, it returns an empty sequence, which is the reason why our menu bar is empty (except for the little question mark).
BusinessPartnerApplicationConfig.java
Before we are able to fill the menu bar, we need to write classes that define the look and functionality of menu items. At the end of this tutorial, we will have two menu items. The first one labeled "Start" takes the user back to the MainView whenever they click it, the second one enables adding a new business partner. In this step, we implement the "Start" menu item.
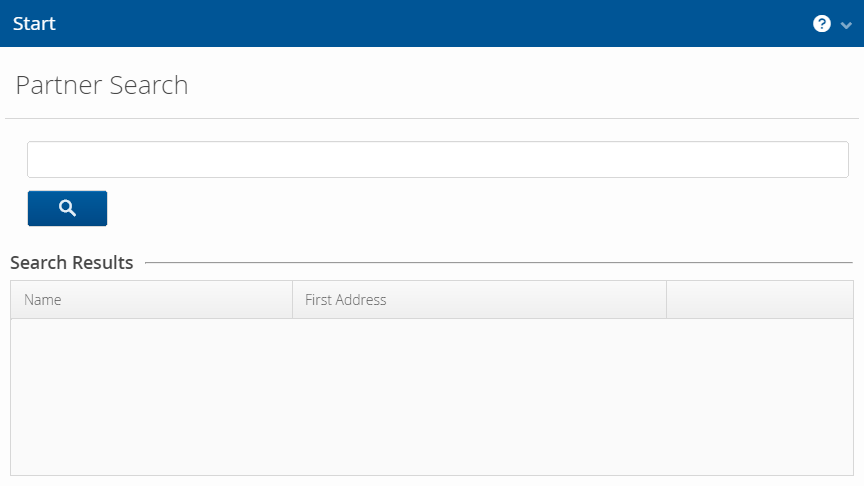
Figure 1. Main view with menu item "Start"
We create a class called StartMenuItem that inherits from the abstract class ApplicationMenuItemDefinition. In the constructor, we invoke the super constructor and set a name and a position for our menu item.
StartMenuItem.java
    public StartMenuItem() {
        super("Start", 1);
    }
The name passed to the super constructor is only used internally. The user will actually see the caption that is defined in the internalCreateItem method. Not only is the caption set here, but also the command that will be executed once the user clicks on the menu item. We want to fetch the current navigator using our BusinessPartnerUI class and use it to show our MainView.
StartMenuItem.java
    @Override
    protected MenuItem internalCreateItem(ApplicationMenu menu) {
        return menu.addItem("Start",
                e -> LinkkiUi.getCurrentNavigator()
                        .navigateTo(MainView.NAME));
    }
Now we include the new item to our menu bar by adding it to the sequence in the BusinessPartnerApplicationConfig. Done.