
Step 3: Implementing a new View with LinkkiTabLayout
This step introduces you to the navigation between views using Vaadin. You will also learn how to use the layout type LinkkiTabLayout.
|
To display more detailed information of a business partner, you will create a new view that will display two pages as tabs: BasicDataPage and AddressPage. Each page will correspond to a tab sheet. For now, the pages will stay empty.
Figure 1. BasicDataPage
Creating View to display partner details
If you look at the implementation of BusinessPartnerView, you will notice the @Route annotation. This is a Vaadin annotation and it is required for navigating between views. Note that the value attribute represents the URL. If value is "example", you can access this view using the URL "localhost:8080/example".
|
Create the new view by creating a class called PartnerDetailsView, annotating it with @Route and doing the following steps:
-
Set the attribute
valueto "PartnerDetails". -
As with
BusinessPartnerView, use thelayoutBusinessPartnerLayout, otherwise you will not have the navigation bar at the top of the view. -
Extend
PartnerDetailsViewtoDiv, otherwise you will get an error when accessing this view.
The finished implementation should look like this:
PartnerDetailsView.java
@Route(value = "PartnerDetails", layout = BusinessPartnerLayout.class)
public class PartnerDetailsView extends Div {

}
Transforming PartnerDetailsView to a LinkkiTabLayout
Overall, PartnerDetailsView should show a tab layout with the two pages as tab sheets. To do this:
-
Use
LinkkiTabLayoutas the super class ofPartnerDetailsViewinstead ofDiv. -
To have the tabs on the left of the view, use the vertical orientation of
LinkkiTabLayoutby calling the super constructor withOrientation.VERTICALas an argument. -
If you want, you can change the background of the tab bar by adding
THEME_VARIANT_SOLIDto the list of the view themes in the constructor withthis.getElement().getThemeList().add(THEME_VARIANT_SOLID);.
PartnerDetailsView.java
public class PartnerDetailsView extends LinkkiTabLayout {

    public PartnerDetailsView() {
        super(Orientation.VERTICAL);
        this.getElement().getThemeList().add(THEME_VARIANT_SOLID);
    }
}
You can now run your application and access your new view via "localhost:8080/PartnerDetails".
Accessing PartnerDetailsView for a given partner
The URL currently doesn’t allow you to show the information of a specific partner. Therefore, you need to add a parameter to the URL.
One way to achieve this is to have the view implement the interface HasUrlParameter<String> and override the method setParameter(BeforeEvent event, @OptionalParameter String parameter). You will implement this method later.
PartnerDetailsView.java
public class PartnerDetailsView extends LinkkiTabLayout implements HasUrlParameter<String> {

    @Override
    public void setParameter(BeforeEvent event, @OptionalParameter String parameter) {
        // will be implemented later
    }
}
You are now ready to add the URL to the UILink that you implemented in the previous step.
Go back to the SearchResultRowPmo and let the method getDetails return the URL of PartnerDetailsView, which is "PartnerDetails/" + partner.getUuid().toString(), with the parameter being the UUID of the partner.
SearchResultRowPmo.java
@UILink(position = 30, caption = "Show Details")
public String getDetails() {
    return "PartnerDetails/" + partner.getUuid().toString();
}
If you run your application now, you should be able to click on the "Show Details" link and navigate to the empty PartnerDetailsView.
| If you take a look at the URL, you should be able to see the ID of a partner. For John Doe, the parameter is ac54f2f9-7b82-4bc8-ab69-554cac5926f1. |
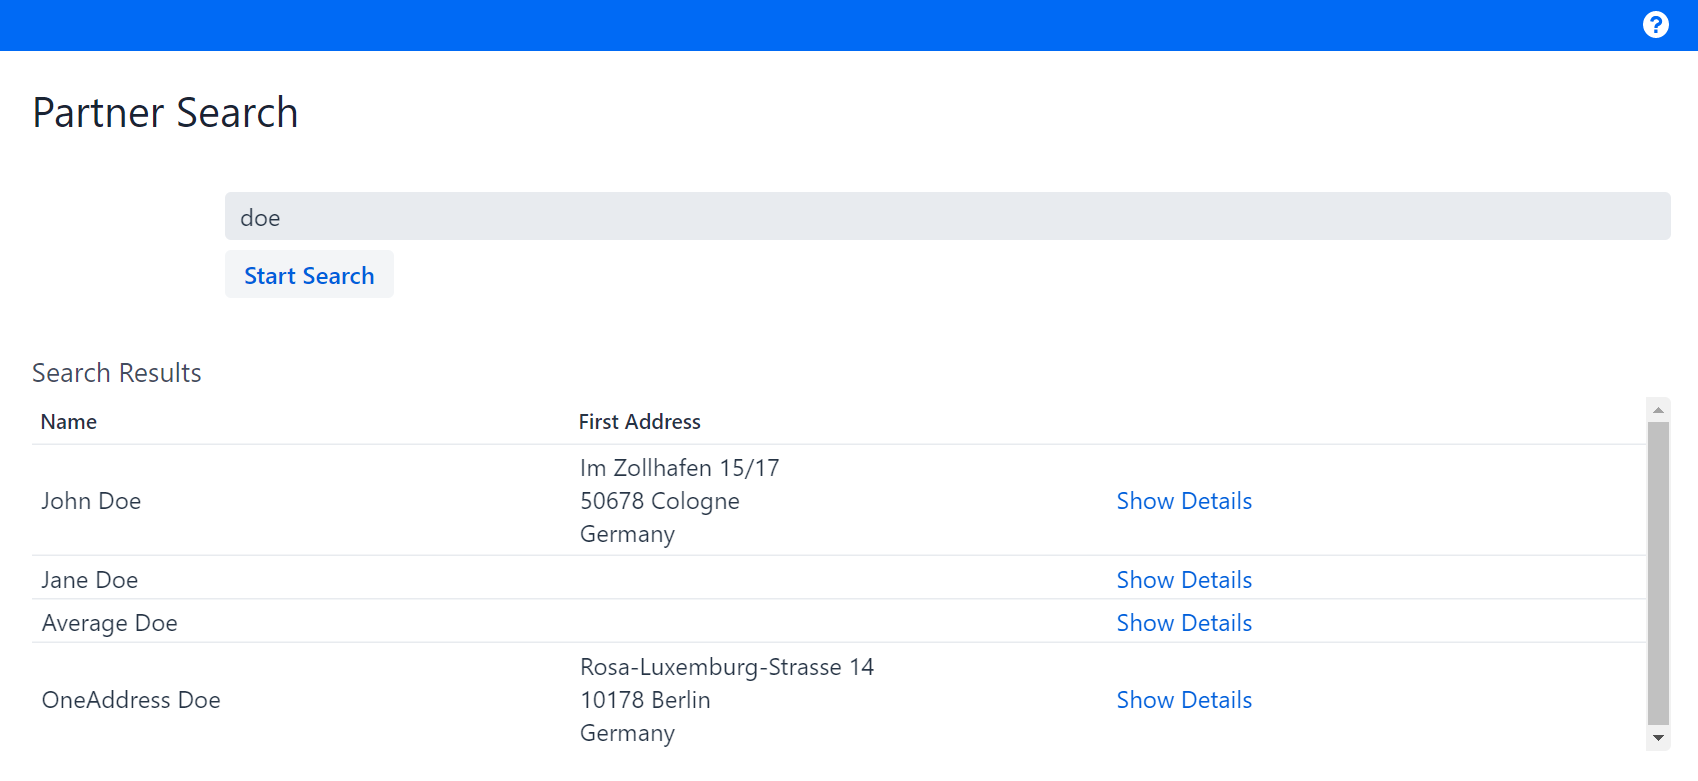
Figure 2. BusinessPartnerView
Retrieving the correct BusinessPartner
Now that the "ID" of a BusinessPartner is passed to the URL of the PartnerDetailsView, you need to retrieve it, otherwise you won’t know which partner you want to display information for.
To retrieve the correct BusinessPartner, do the following:
-
Create a field
partnerRepositoryof typeBusinessPartnerRepository. -
Create a field
currentPartnerof typeOptional<BusinessPartner>. -
Pass a
BusinessPartnerRepositoryto the constructor and annotate the constructor with@Autowired, as you did forBusinessPartnerView. -
Assign the constructor argument to the field
partnerRepositiory. -
Initialize the field
currentPartnerwithOptional.empty(). -
In the method
setParameter, assignOptional.ofNullable(parameter).map(UUID::fromString).map(partnerRepository::getBusinessPartner)to the fieldcurrentPartner.
The finished implementation should look like this:
PartnerDetailsView.java
private final BusinessPartnerRepository partnerRepository;
private Optional<BusinessPartner> currentPartner;

@Autowired
public PartnerDetailsView(BusinessPartnerRepository partnerRepository) {
    ...
    this.partnerRepository = partnerRepository;
    this.currentPartner = Optional.empty();
}

@Override
public void setParameter(BeforeEvent event, @OptionalParameter String parameter) {
    currentPartner = Optional.ofNullable(parameter).map(UUID::fromString)
            .map(partnerRepository::getBusinessPartner);
}
Adding tab sheets to PartnerDetailsView
Now that you have the correct BusinessPartner, you can add the two tab sheets that will display detailed information about the partner and their addresses. However, at the moment you can access the view whether the UUID of a BusinessPartner is correct or not.
Therefore, you will an additional tab sheet to handle error cases: If the UUID is missing or incorrect, the first tab will be shown and the other two will be hidden. Otherwise, the first tab will be hidden and the other two will display detailed information on the BusinessPartner.
Before adding the tab sheets, you need to create the component the tab sheets will display. Do the following:
-
Create a method
createErrorLayoutwith the signatureComponent createErrorLayout(). -
Let the method return
new Div(new Text("No partner ID was provided or no partner could be found with the given ID")). -
Create a method
createBasicDataPagewith the signatureComponent createBasicDataPage(BusinessPartner partner). -
Let the method return
new Div(new Text("Basic Data Page for partner " + partner.getUuid())). -
Create a method
createAddressPagewith the signatureComponent createAddressPage(BusinessPartner partner). -
Let the method return
new Div(new Text("Address Page for partner " + partner.getUuid())).
The finished implementation should look like this:
PartnerDetailsView.java
private Component createErrorLayout() {
    return new Div(new Text("No partner ID was provided or no partner could be found with the given ID"));
}

private Component createBasicDataPage(BusinessPartner partner) {
    return new Div(new Text("Basic Data Page for partner " + partner.getUuid()))
}

private Component createAddressPage(BusinessPartner partner) {
    return new Div(new Text("Address Page for partner " + partner.getUuid()))
}
To add the tab sheets, use the method addTabSheets. The method takes a list of LinkkiTabSheet as the argument. Create the three LinkkiTabSheet as follows:
-
Use a builder with
LinkkiTabSheet.builder(), which takes the ID of the tab sheet as a String argument:-
Use "error" as the ID for the first tab sheet.
-
Use "basic-data" as the ID for the second tab sheet.
-
Use "address" as the ID for the third tab sheet.
-
-
Add a caption to the tab sheet using
.caption()which will be displayed on the tab element. In this case, you will display icons:-
Use
VaadinIcon.WARNING.create()as the caption for the first tab sheet. -
Use
VaadinIcon.USER.create()as the caption for the second tab sheet. -
Use
VaadinIcon.HOME.create()as the caption for the third tab sheet.
-
-
Set the content of the tab sheet using
.content(), which takes aSupplier<Component>as the argument, whereComponentis a Vaadin Component:-
Use
this::createErrorLayoutas the argument for the first tab sheet. -
Use
this::createBasicDataPageas the argument for the second tab sheet. -
Use
this::createAddressPageas the argument for the third tab sheet.
-
-
Set the visibilty of the tab sheet using
.visibleWhen():-
Use
() → currentPartner.isEmpty()as the argument for the first tab sheet. -
Use
() → currentPartner.isPresent()as the argument for the second tab sheet. -
Use
() → currentPartner.isPresent()as the argument for the third tab sheet.
-
-
Build the tab sheet with
.build().
The finished implementation should look like this:
PartnerDetailsView.java
public PartnerDetailsView(BusinessPartnerRepository partnerRepository) {
    ...
    addTabSheets(
            LinkkiTabSheet.builder("error").caption(VaadinIcon.WARNING.create()).content(this::createErrorLayout)
                    .visibleWhen(() -> currentPartner.isEmpty()).build(),
            LinkkiTabSheet.builder("basic-data").caption(VaadinIcon.USER.create())
                    .content(() -> currentPartner.map(this::createBasicDataPage).orElseGet(Div::new))
                    .visibleWhen(() -> currentPartner.isPresent()).build(),
            LinkkiTabSheet.builder("address").caption(VaadinIcon.HOME.create())
                    .content(() -> currentPartner.map(this::createAddressPage).orElseGet(Div::new))
                    .visibleWhen(() -> currentPartner.isPresent()).build());
}
If you run your application, you should be able to access the new view from BusinessPartnerView and navigate to the two empty pages via the tabs on the left.
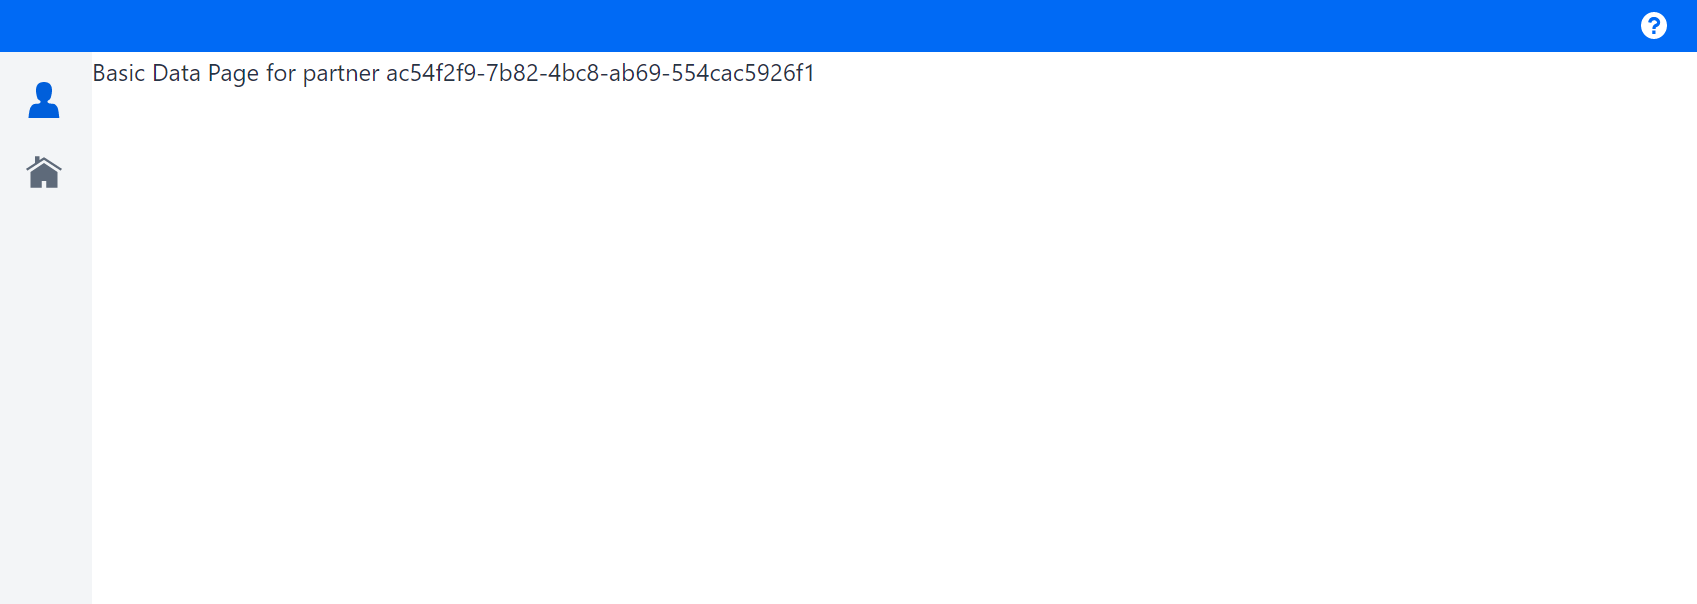
The first tab should have a user icon and display for e.g. John Doe "Basic Data Page for partner ac54f2f9-7b82-4bc8-ab69-554cac5926f1".
Figure 3. BasicDataPage
The second tab should have a home icon and display for e.g. John Doe "Address Page for partner ac54f2f9-7b82-4bc8-ab69-554cac5926f1".
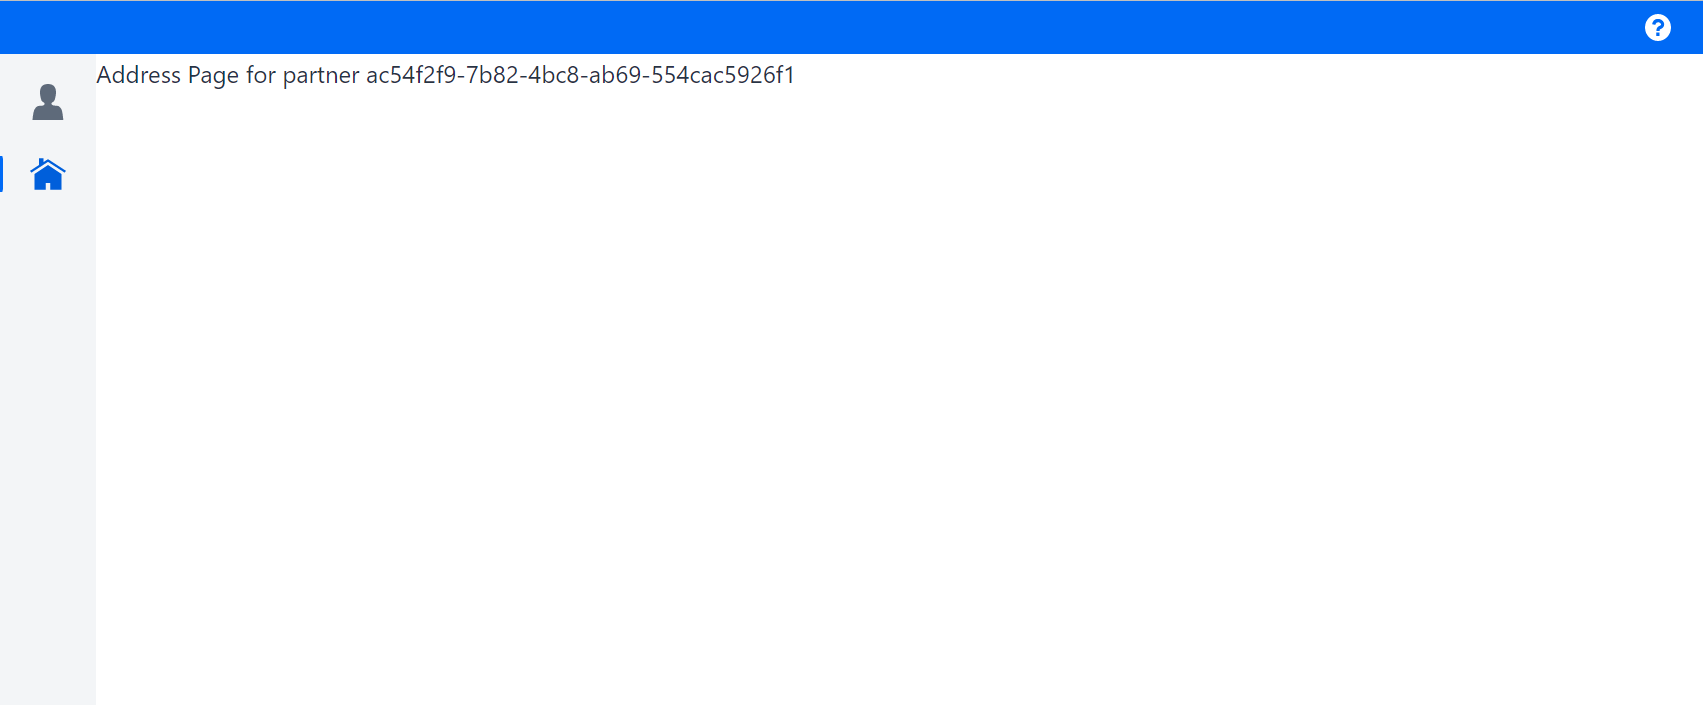
Figure 4. AddressPage
If you remove the UUID from the URL, you should get only one tab. This tab should have a warning icon and display "No partner ID was provided or no partner could be found with the given ID".
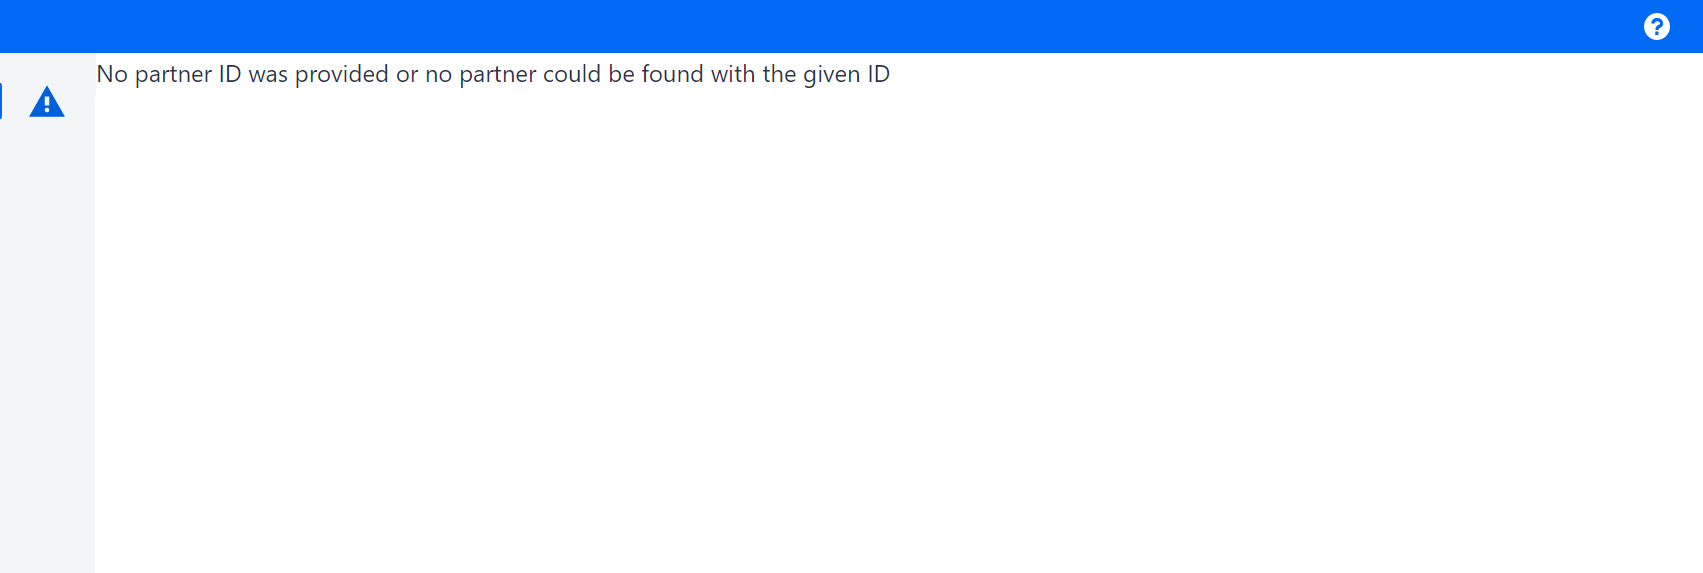
Figure 5. Error
The next step extends the UI by adding a menu item in order to navigate back to BusinessPartnerView.