
Step 8: Adding a button to a header
This step teaches you how to add a button to the header of a page. You will also learn how to show notifications using NotificationUtil.
|
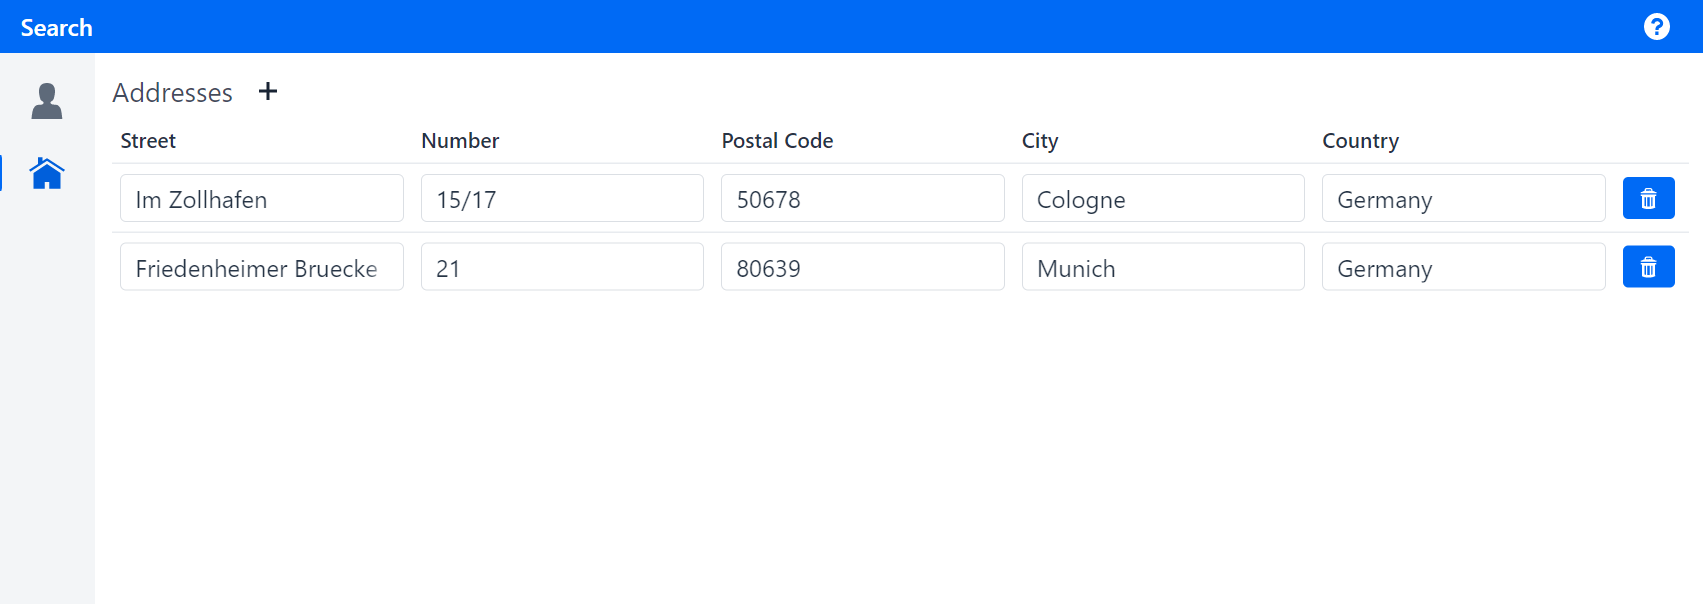
Now that the user can delete addresses, you will add a button to create new ones.
Figure 1. Address table with add button in table header
Adding a button in AddressTablePmo
To have the button next to the caption "Addresses", do the following in AddressTablePmo:
-
Create a void method
addand annotate it with@UIButton. -
The attribute
variantsshould be set to{ButtonVariant.LUMO_CONTRAST}andicontoVaadinIcon.PLUS. -
Annotate the method with
@SectionHeader. This puts the button in the header of the section, next to the caption.
The finished implementation should look like this:
AddressTablePmo.java
    @SectionHeader
    @UIButton(position = 10, captionType = CaptionType.NONE, showIcon = true, icon = VaadinIcon.PLUS, variants = {
            ButtonVariant.LUMO_CONTRAST })
    public void add() {
    }
Showing a notification
To make sure the button works correctly, you will display a notification when clicking on it. To do so, implement the add method with NotificationUtil.showInfo("New Address", "This button adds an address"). The first argument is the title of the notification, the second is the content.
The finished implementation should look like this:
AddressTablePmo.java
public void add() {
    NotificationUtil.showInfo("New Address", "This button adds an address");
}
If you run your application now, you should see a plus icon next to the title "Addresses". When you click on it, a notification box should pop up with the title "New Address" and its content should be "This button adds an address".
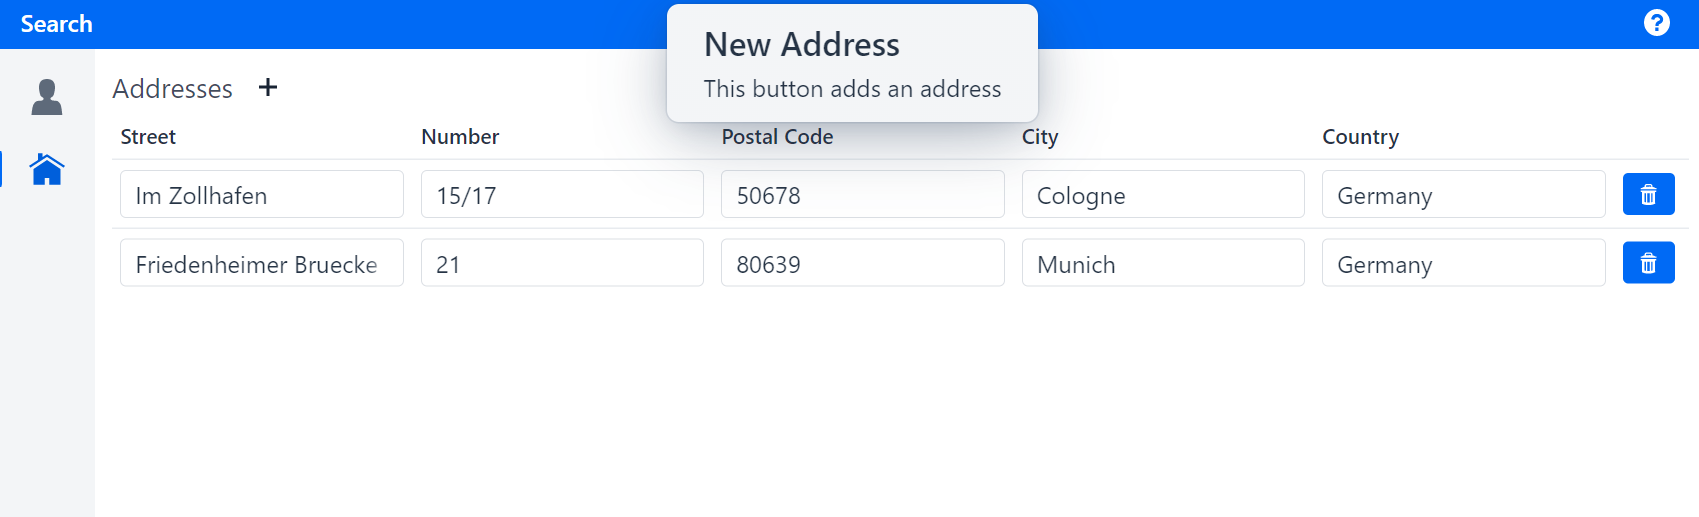
Figure 2. Add notification
The next step extends the UI so that the plus button adds a new address.