
Step 4: Adding a Search menu item
This step teaches you how to add a simple menu item to the menu bar using ApplicationMenuItemDefinition to navigate to the view of your choice.
|
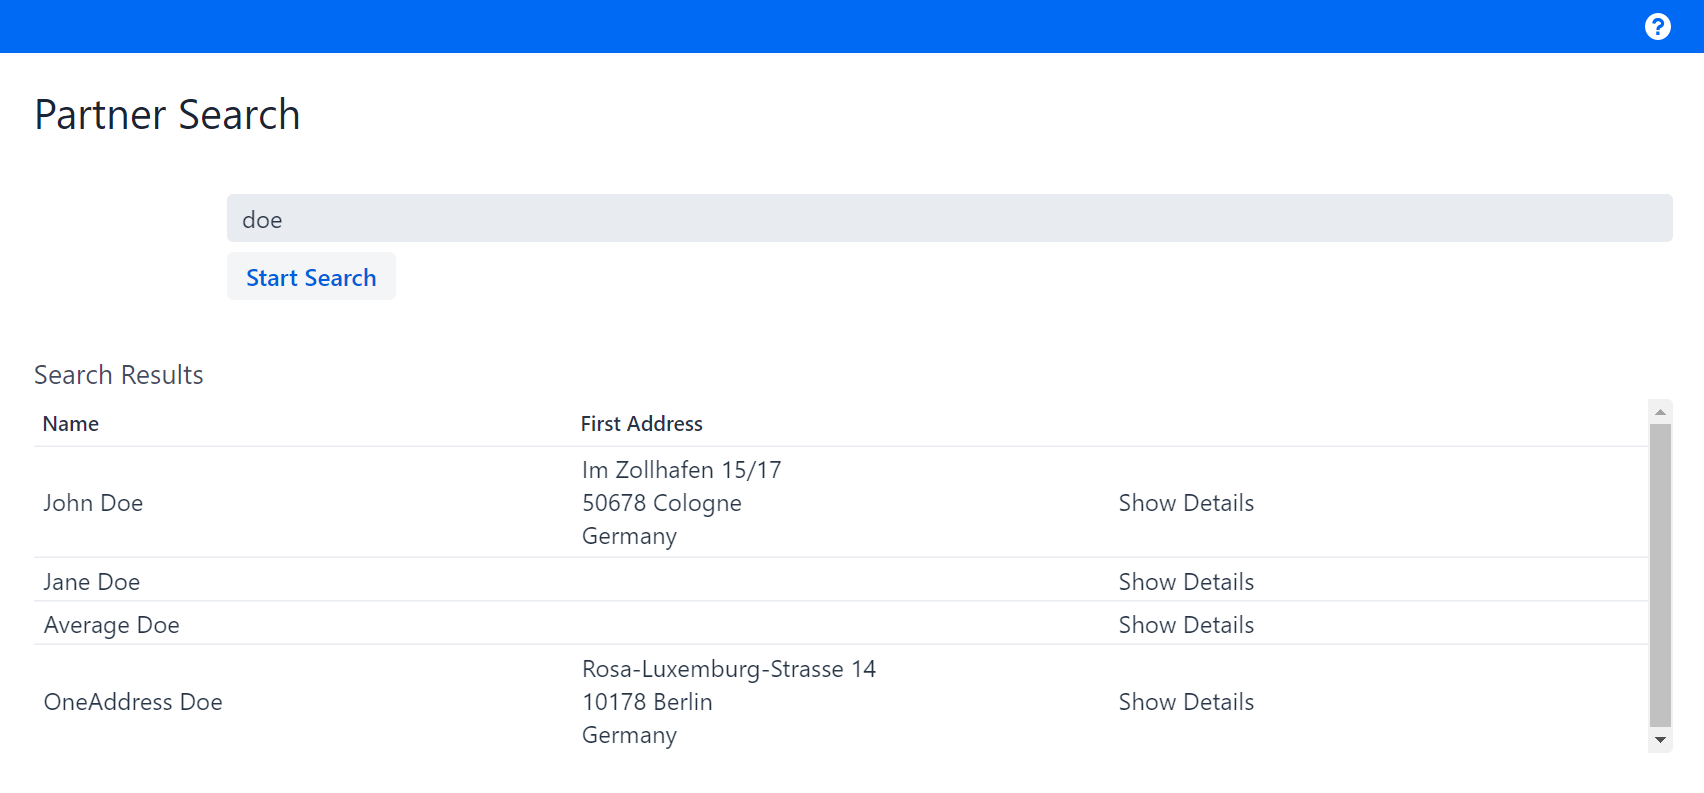
Going back manually to the BusinessPartnerView is pretty annoying. This is why you will add a menu item that will redirect you to the view whenever you want.
Figure 1. BusinessPartnerView
As you can see, there is a blue bar at the top of your web page. This is the so-called application menu. If you look into the class BusinessPartnerConfig, you can see a method called getMenuItemDefinitions. Currently, it returns an empty sequence, which is why your menu bar is empty.
BusinessPartnerConfig.java
@Override
public Sequence<ApplicationMenuItemDefinition> getMenuItemDefinitions() {
    return Sequence.empty();
}
To have the menu item redirect you to BusinessPartnerView, you need to return a non-empty sequence. To do this, add an instance of the linkki class called ApplicationMenuItemDefinition to Sequence.of(…).
The ApplicationMenuItemDefinition needs three parameters:
-
A name: "Search"
-
An ID: "appmenu-search"
-
A target view:
BusinessPartnerView.class
BusinessPartnerConfig.java
@Override
public Sequence<ApplicationMenuItemDefinition> getMenuItemDefinitions() {
    return Sequence.of(new ApplicationMenuItemDefinition("Search", "appmenu-search", BusinessPartnerView.class));
}
If you open our application, you should now see a menu item called "Search" on the left of the blue bar, whether you are on BusinessPartnerView or PartnerDetailsView.
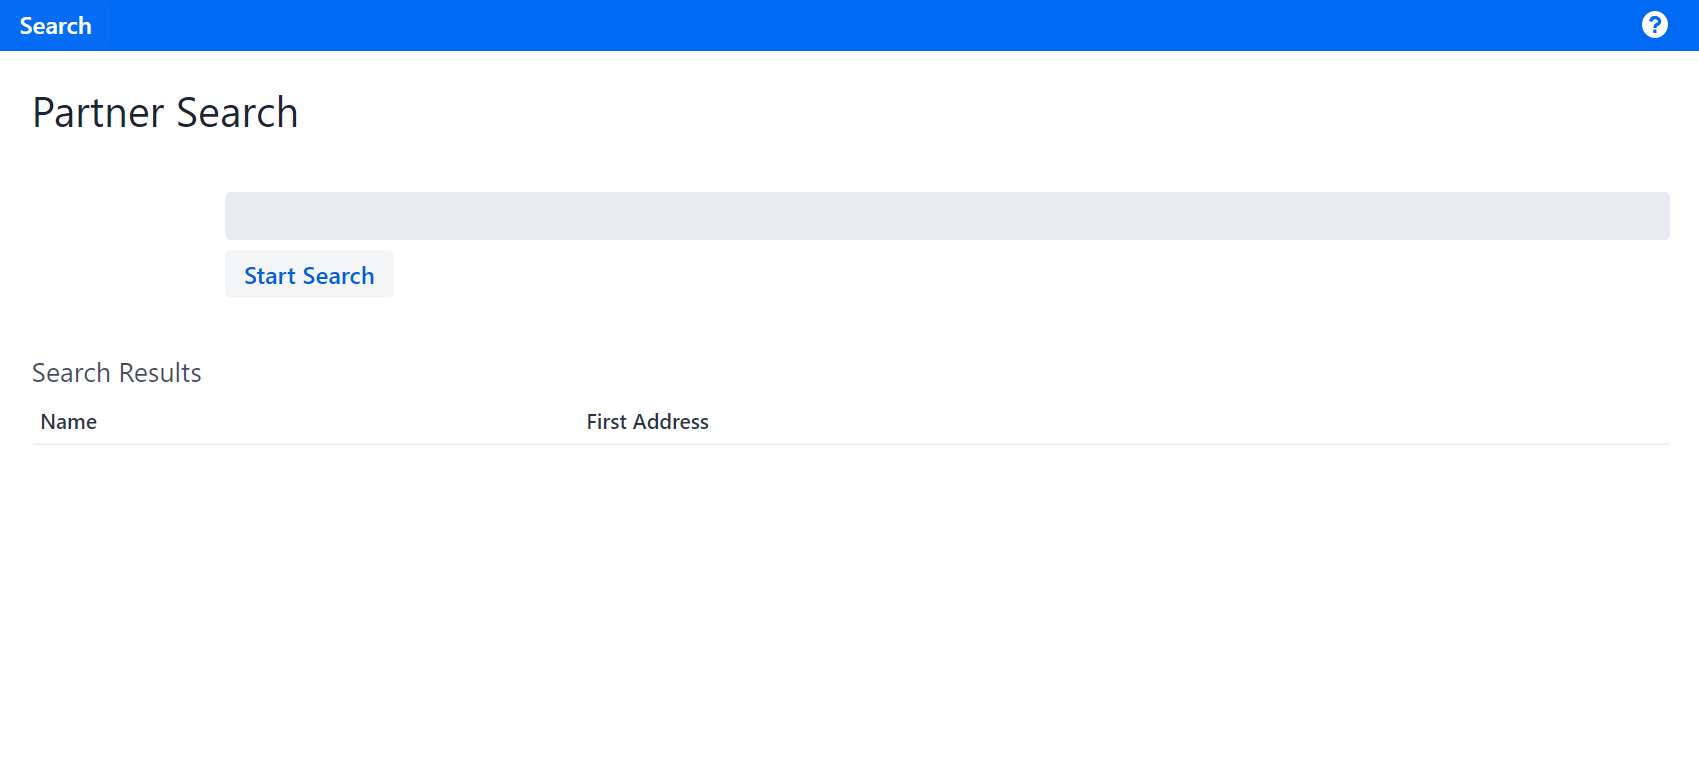
Figure 2. BusinessPartnerView
The next step extends the UI to display detailed information about a partner.