
Step 6: Filling the AddressPage with Model Binding
This step introduces you to the concept of "Model Binding". You will also learn how to style buttons with ButtonVariant and change the size of a table column with @UITableColumn.
|
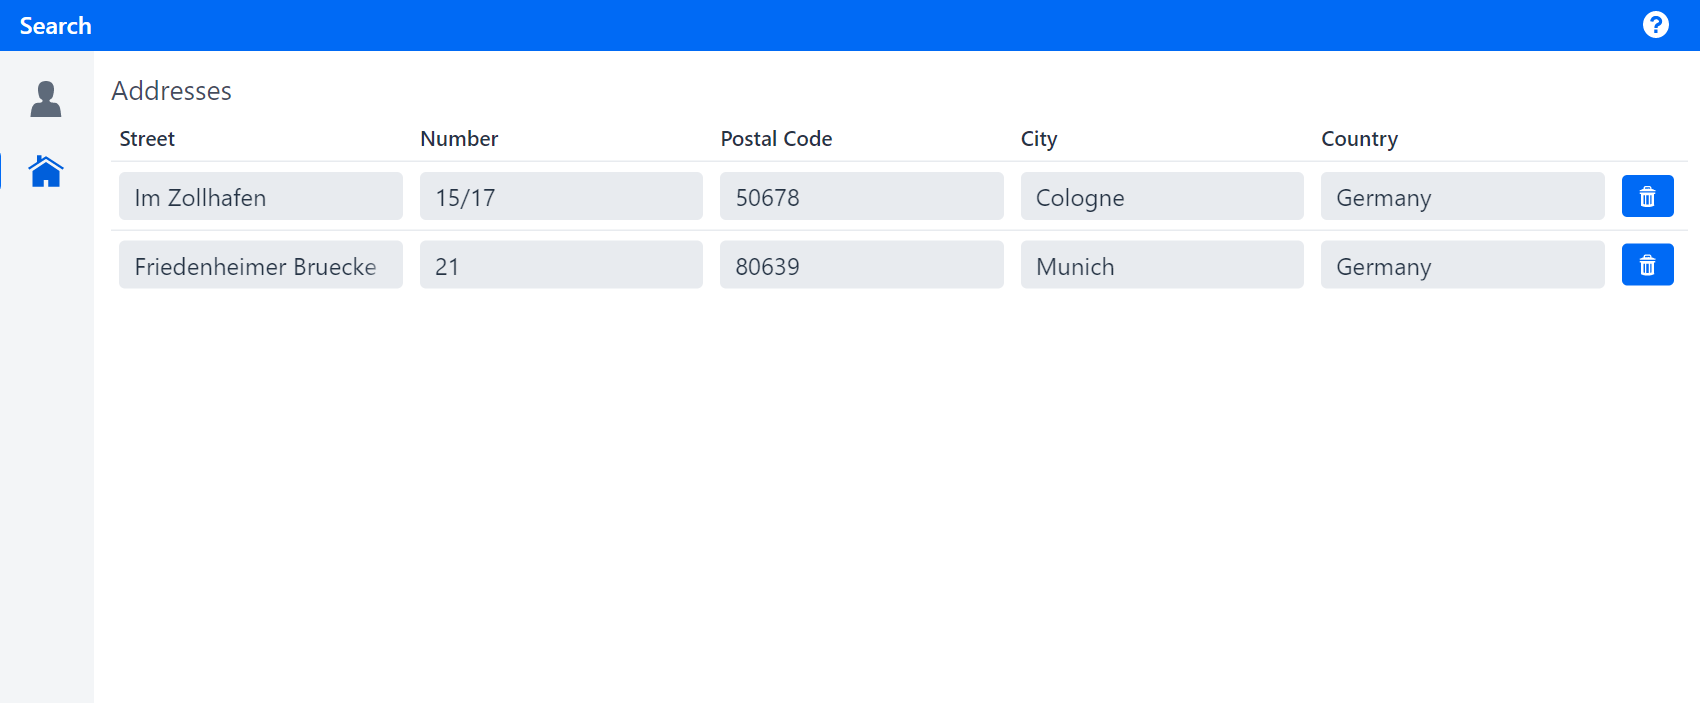
The next step is to create and fill out the page that will display all addresses of a given partner in a table.
Figure 1. AddressPage
First, you need to implement the table. Create the row PMO of the table and call it AddressRowPmo.
Model Binding Theory
At this point, you already know how to use getters and setters. However, as you may have seen before, the more UI elements you use, the longer the PMO becomes. Therefore, you will now use a new method called Model Binding.
| "Model Binding", short-hand for Domain Model Binding, is a linkki feature for reducing delegate code in PMO classes. It can be used when the presentation model and the domain model have similar structure and properties. |
Basically, linkki will create the getters and the setters for you, based on already existing methods in a so-called Model Object and an attribute called modelAttribute. For example, if you use a BusinessPartner as the model object and set modelAttribute = "dateOfBirth" in the @UIDateField annotation, linkki will generate the getter and the setter of the UIDateField element for the property dateOfBirth.
Note that you still need to write a method and annotate it with e.g. @UIDateField. However, the method won’t be executed, so its return type can be void and the method can be empty.
|
Model Binding Practice
You can now apply the theory by using model binding in the AddressRowPmo. Take a look at the domain model and implement it as follows:
-
Create and implement a getter method for the property
addresswith the signatureAddress getAddress(). -
Annotate it with
@ModelObject. -
Create an empty method with the signature
public void street(). -
Annotate it with
@UITextField. The label should be set to "Street" and the model attribute should be set to "street". -
Create an empty method with the signature
public void streetNumber(). -
Annotate it with
@UITextField. The label should be set to "Number" and the model attribute should be set to "streetNumber". -
Create an empty method with the signature
public void postalCode(). -
Annotate it with
@UITextField. The label should be set to "Postal Code" and the model attribute should be set to "postalCode". -
Create an empty method with the signature
public void city(). -
Annotate it with
@UITextField. The label should be set to "City" and the model attribute should be set to "city". -
Create an empty method with the signature
public void country(). -
Annotate it with
@UITextField. The label should be set to "Country" and the model attribute should be set to "country".
The finished implementation should look like this:
AddressRowPmo.java
protected Address address;

@ModelObject
public Address getAddress() {
    return address;
}

@UITextField(position = 10, label = "Street", modelAttribute = "street")
public void street() {
    // model binding
}

@UITextField(position = 20, label = "Number", modelAttribute = "streetNumber")
public void streetNumber() {
    // model binding
}

@UITextField(position = 30, label = "Postal Code", modelAttribute = "postalCode")
public void postalCode() {
    // model binding
}

@UITextField(position = 40, label = "City", modelAttribute = "city")
public void city() {
    // model binding
}

@UITextField(position = 50, label = "Country", modelAttribute = "country")
public void country() {
    // model binding
}
Adding a delete button and styling it using ButtonVariant
The next step is to add delete buttons to the rows, so that the user is able to delete addresses. Note that you will implement the delete method itself in the address page later.
Even if the delete buttons are in a table, the implementation stays the same and is done in the row PMO class as follows:
-
Create a new field
deleteConsumerof typeConsumer<Address>. -
Create a new method with the signature
public void deleteButton()and implement it the same way as in Step 1. -
Annotate it with
@UIButton:-
Adorn the button with a trash icon by setting:
-
The attribute
captionTypetoCaptionType.NONE. -
The attribute
showIcontotrue. -
The attribute
icontoVaadinIcon.TRASH.
-
-
Style the button by setting the attribute
variantsto{ButtonVariant.LUMO_PRIMARY, ButtonVariant.LUMO_SMALL}. Just like the icon, theButtonVariantis a Vaadin component.
-
The finished implementation should look like this:
AddressRowPmo.java
private Consumer<Address> deleteConsumer;

@UIButton(position = 60, captionType = CaptionType.NONE, showIcon = true, icon = VaadinIcon.TRASH, variants = {
        ButtonVariant.LUMO_PRIMARY, ButtonVariant.LUMO_SMALL })
public void deleteButton() {
    deleteConsumer.accept(address);
}
Implementing the Container Pmo
Now that the row PMO has been implemented, create and implement the ContainerPMO called AddressTablePmo the same way as in Step 2 and set the caption of @UISection to "Addresses".
Don’t forget to pass the Consumer<Address> to the constructor.
|
Creating and implementing the address page
Create and implement the address page as follows:
-
Create a new
AbstractPagecalledAddressPage, initialize it as you did in Step 1. -
Create and implement the method
deleteAddressthat takes anAddressas argument and delete it using the methodBusinessPartner.removeAddress. -
Add the
AddressTablePmoin thecreateContentmethod. Use the methodBusinessPartner.getAddresses()to get the addresses of a partner.
The finished implementation should look like this:
AddressPage.java
private final BusinessPartner partner;

@Override
public void createContent() {
    addSection(new AddressTablePmo(partner::getAddresses, this::deleteAddress));
}

public void deleteAddress(Address address) {
    partner.removeAddress(address);
}
Updating PartnerDetailsView
Finally, update PartnerDetailsView to add the AddressPage the same way as in Step 5 by modifying the method createAddressPage.
The finished implementation should look like this:
PartnerDetailsView.java
private Component createAddressPage(BusinessPartner partner) {
    AddressPage addressPage = new AddressPage(partnerRepository, partner);
    addressPage.init();
    return addressPage;
}
Changing the columns' width with @UITableColumn
If you run your application, you will notice that the button column looks too wide compared to the other columns:
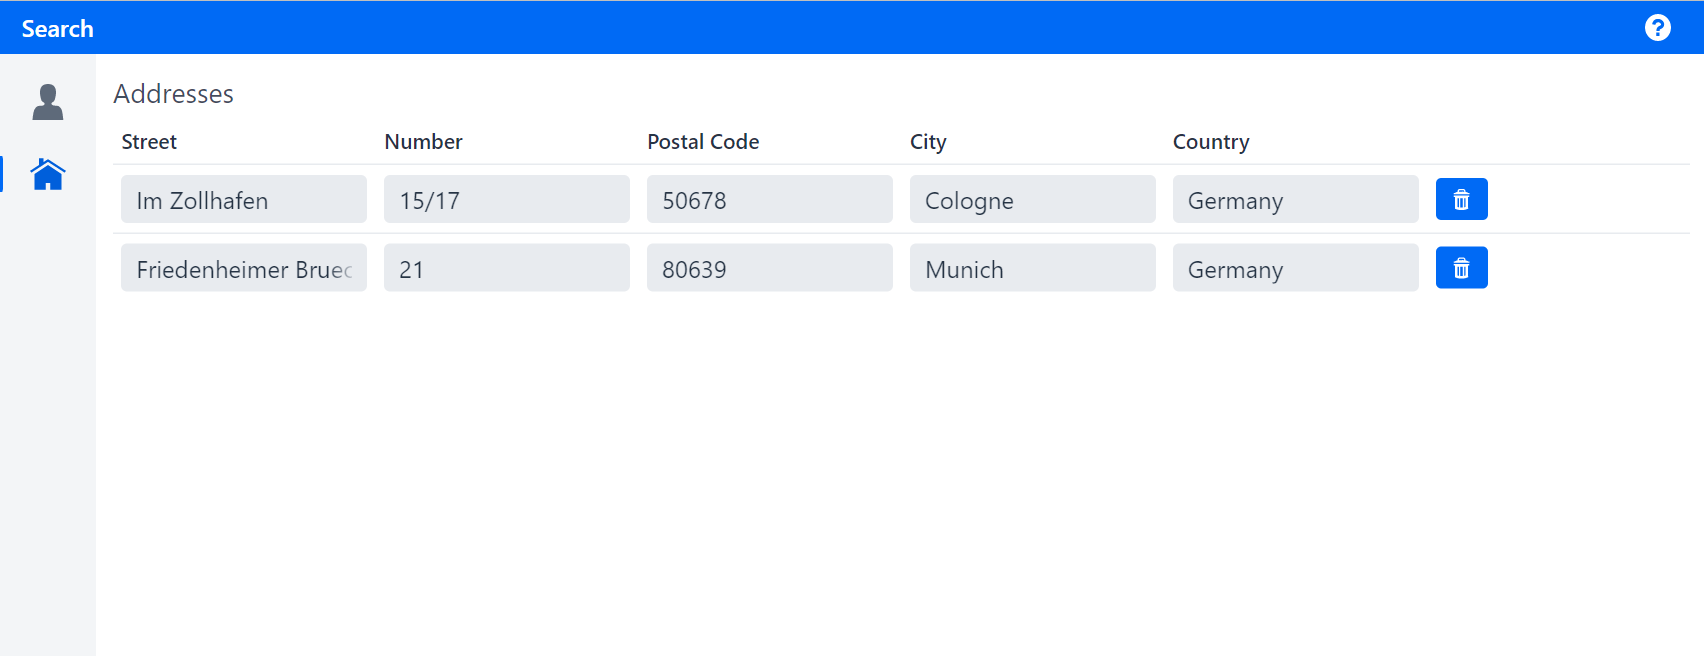
Figure 2. AddressPage
To resize a column, go to AddressRowPmo, use the annotation @UITableColumn in addition to @UIButton and set the attribute width to e.g. 50.
The finished implementation should look like this:
AddressRowPmo.java
@UITableColumn(width = 50)
@UIButton(...)
...
Now you should see that the last column is much narrower than before:
Figure 3. AddressPage
The next step extends the UI to make the addresses non-editable.